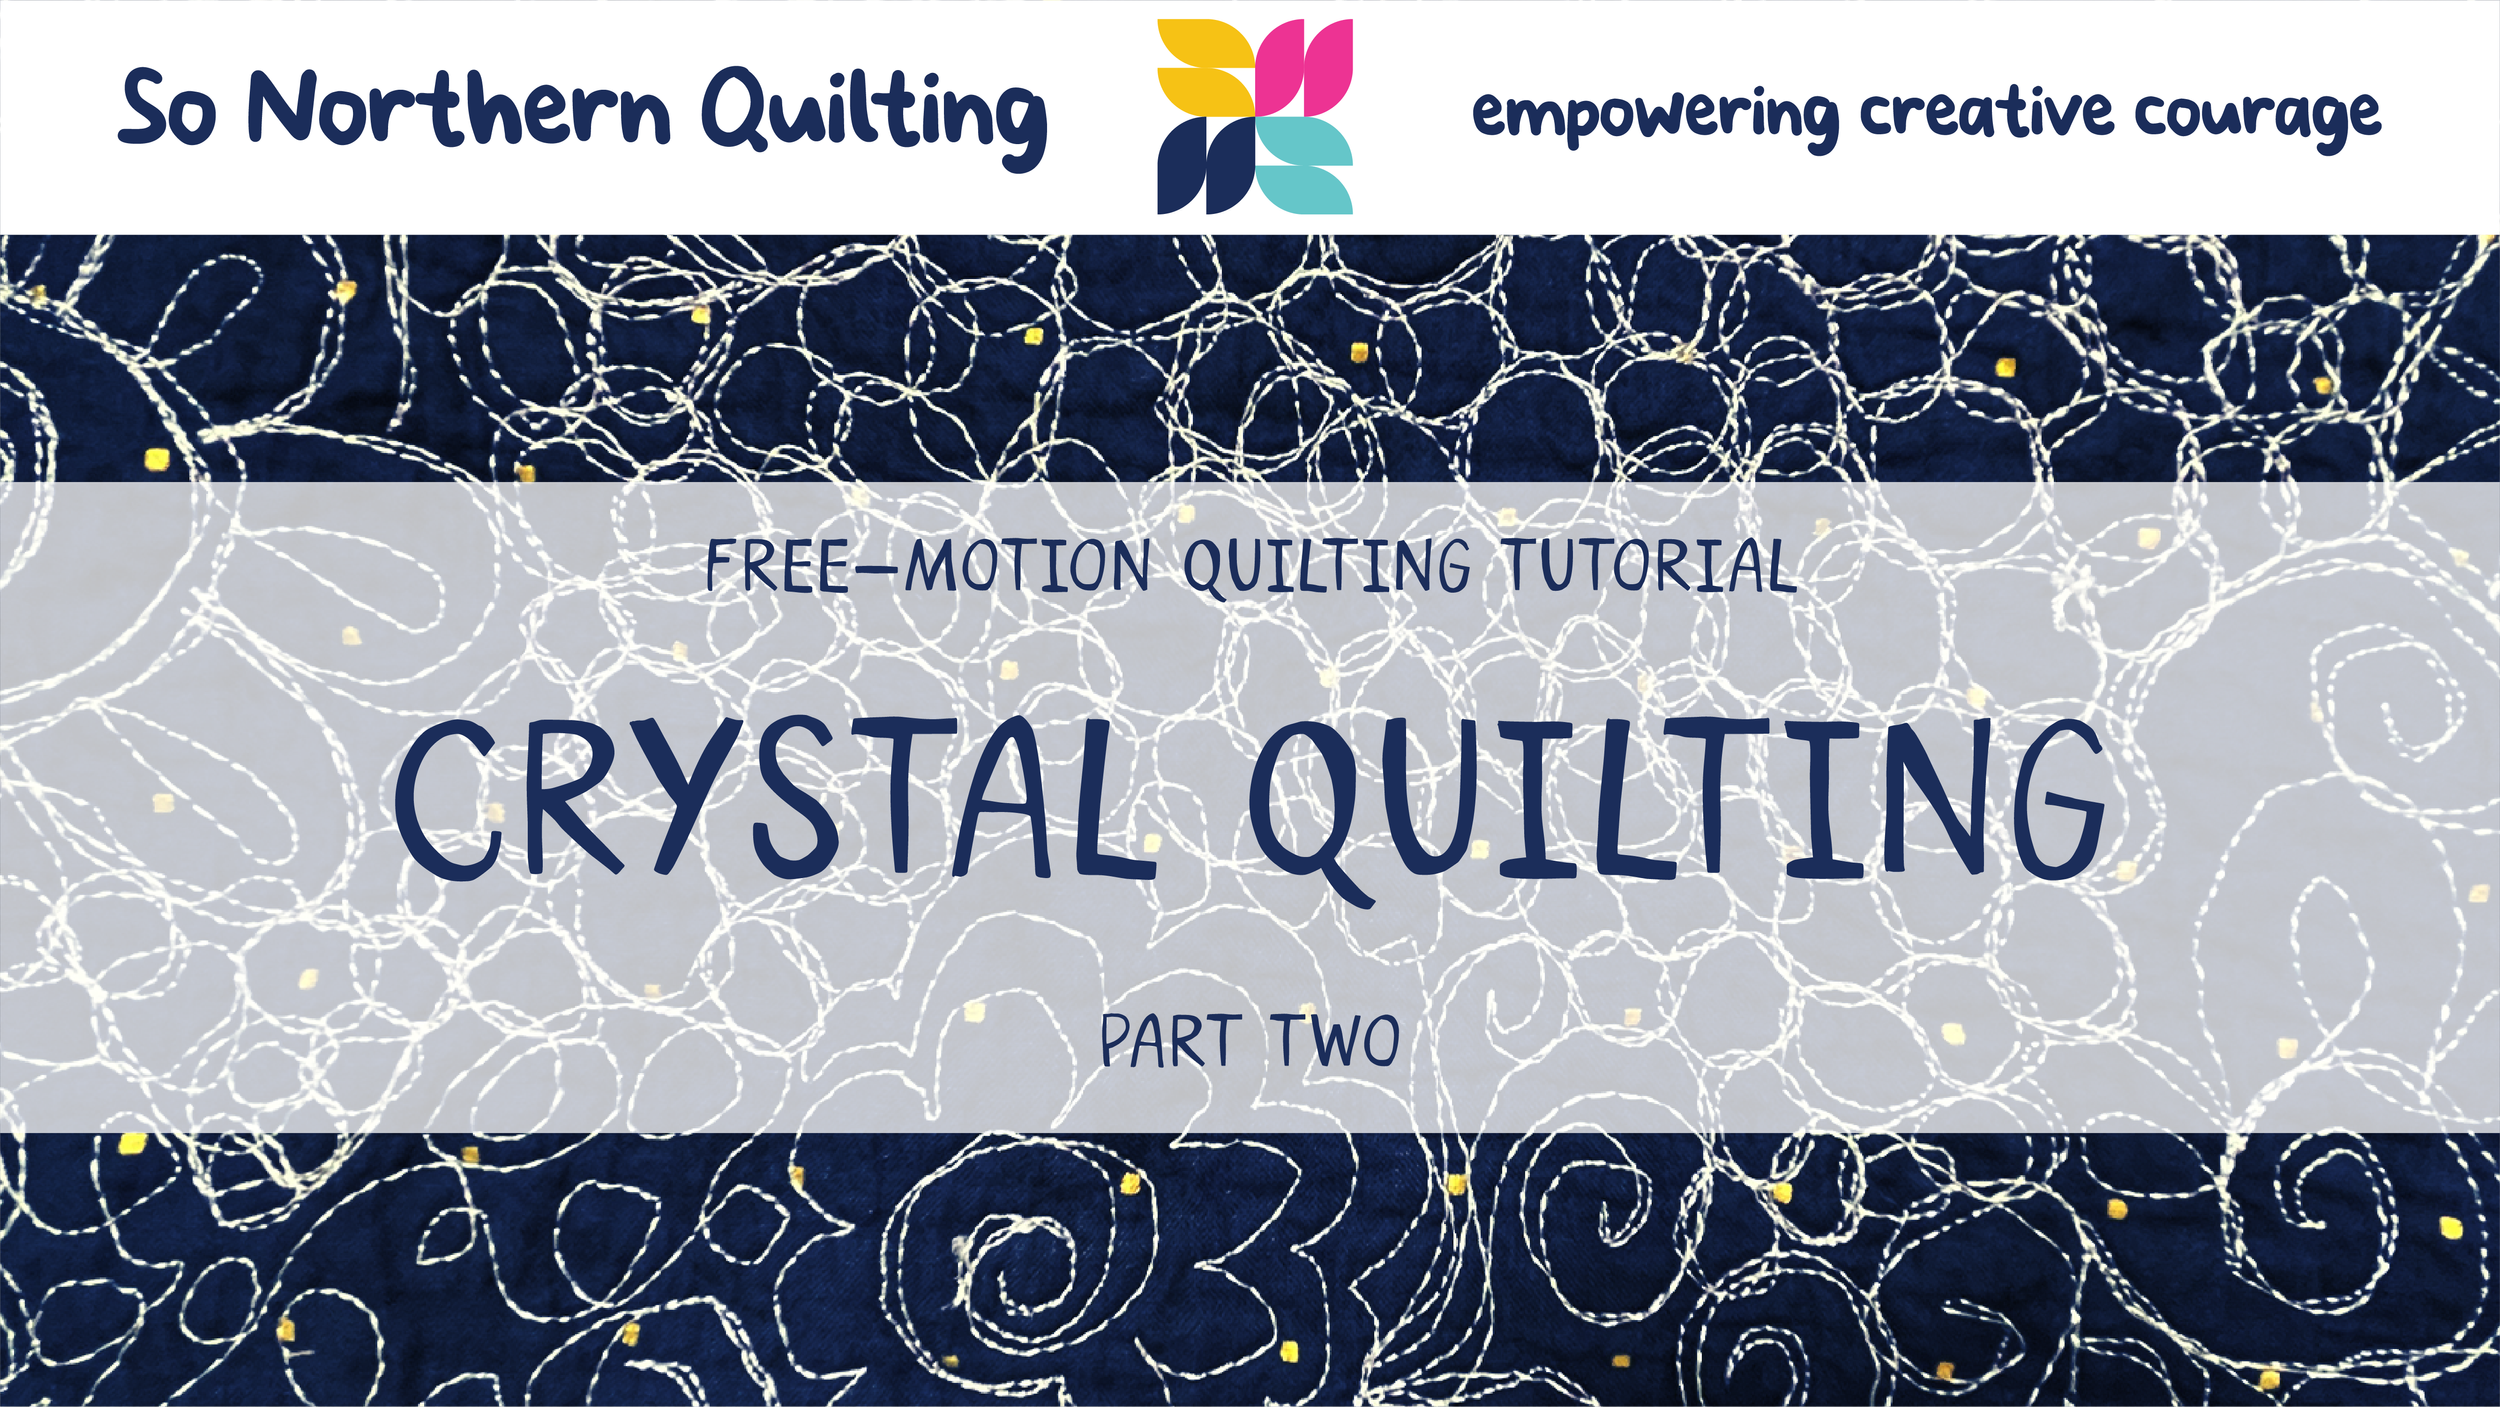
Crystal Quilting FMQ Tutorial Part TWO
In this tutorial, I’m going to share even more ideas for Crystal Quilting. I’m so excited! I think you are going to love them! I hope you do too! I just had so many ideas running in my head after the first part so I had to do another one.
This is the second tutorial in a THREE part series, I show you more ideas that expand on the first one. This is more like making quilted mandalas. It is a lot more ‘doodly’ and I show you step-by-step how to draw the designs before going straight into quilting.
Do NOT be afraid to completely draw out the design on your fabric. You could even use a tear away stabiliser to draw on there and then quilt the design without worrying about your fabric.
You will need:
a sewing machine that can lower the feed dogs or a plate cover them
a free-motion quilting foot
thread (I use polyester thread, cotton thread is fine and works well too - it’s just my preference!)
plenty of bobbins, filled and ready to use (just to save time when you’re in the zone!)
a quilt sandwich (2 pieces of fabric and the batting in the middle, I use 80/20 cotton/polyester batting)
something circular to draw around (I use a roll of sellotape and an embroidery hoop)
a quilting ruler/normal ruler (I used a 15.5” square and a smaller one)
something to mark the fabric, such as a pen (I use a white gel pen as I use black fabric in the tutorial)
I have made a PDF guide which has step-by-step instructions and printable templates for you to draw on before you go straight in to quilting or you can watch the video below. (Click on the button above to download the FREE guide from our shop.)
Let me know which project you would like to make in the next part of our Crystal Quilting series.
Tote Bag
Zipper Pouch
Storage Pot

