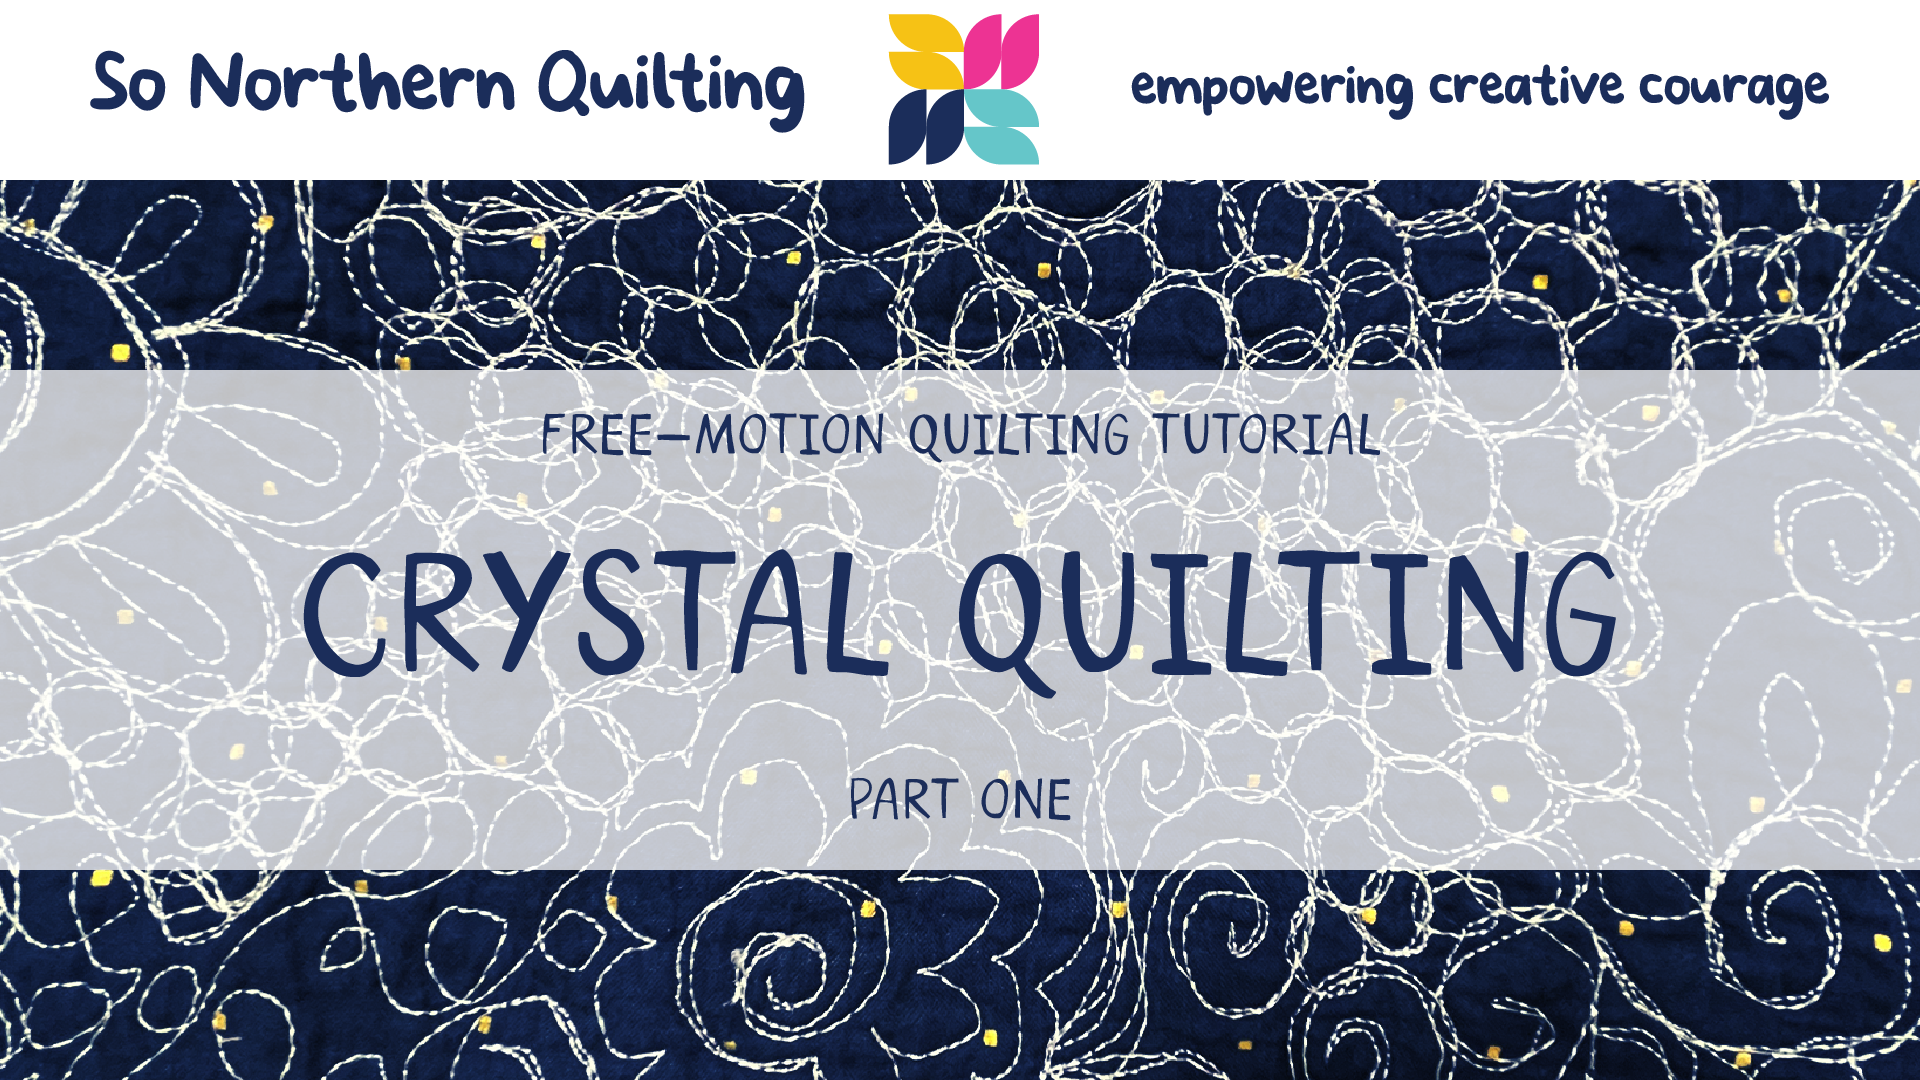
Crystal Quilting FMQ Tutorial Part ONE
In this tutorial, I am going to share a new free-motion quilting technique I’ve affectionately called Crystal Quilting as it was specially requested by my beautiful “quilt mom” Crystal.
This is the first tutorial in a THREE part series, I show you the basic idea of quilting this type of flowers in a circle design and how to incorporate it into your quilts. I show you in real time how quick and easy it comes together and share with you what I’m thinking along the way!
Please do not be worried if you are new to free-motion quilting or a nervous to start, this is a really easy technique and it’s lots of fun. You can’t do it wrong - I promise!
You will need:
a sewing machine that can lower the feed dogs or a plate cover them
a free-motion quilting foot
thread (I use polyester thread, cotton thread is fine and works well too - it’s just my preference!)
plenty of bobbins, filled and ready to use (just to save time when you’re in the zone!)
a quilt sandwich (2 pieces of fabric and the batting in the middle, I use 80/20 cotton/polyester batting)
something circular to draw around (I use a roll of sellotape and an embroidery hoop)
a quilting ruler/normal ruler (I used a 15.5” square and a smaller one)
something to mark the fabric, such as a pen (I use a white gel pen as I use black fabric in the tutorial)
I have made a PDF guide which has step-by-step instructions and printable templates for you to draw on before you go straight in to quilting or you can watch the video below. (Click on the button above to download the FREE guide from our shop.)

